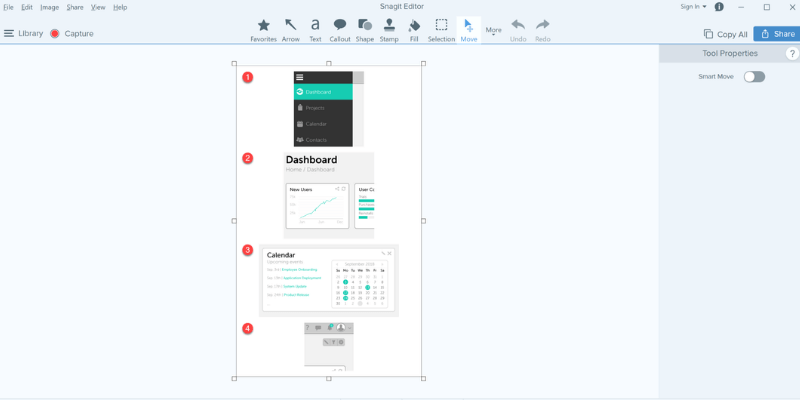
Here you can choose the area in which you capture, so this can be the all-in-one classic, which is you just drag to the size of your screen, or if it’s a website, you can use the scrolling options.

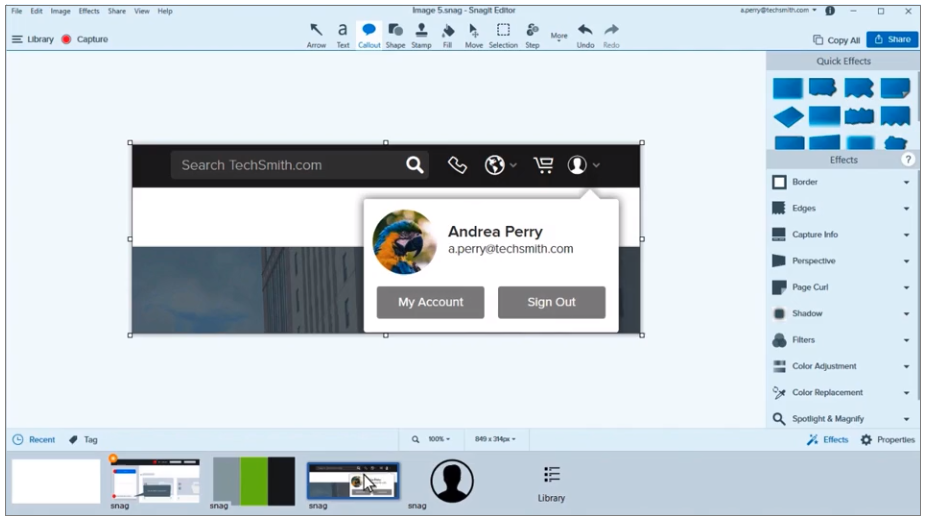
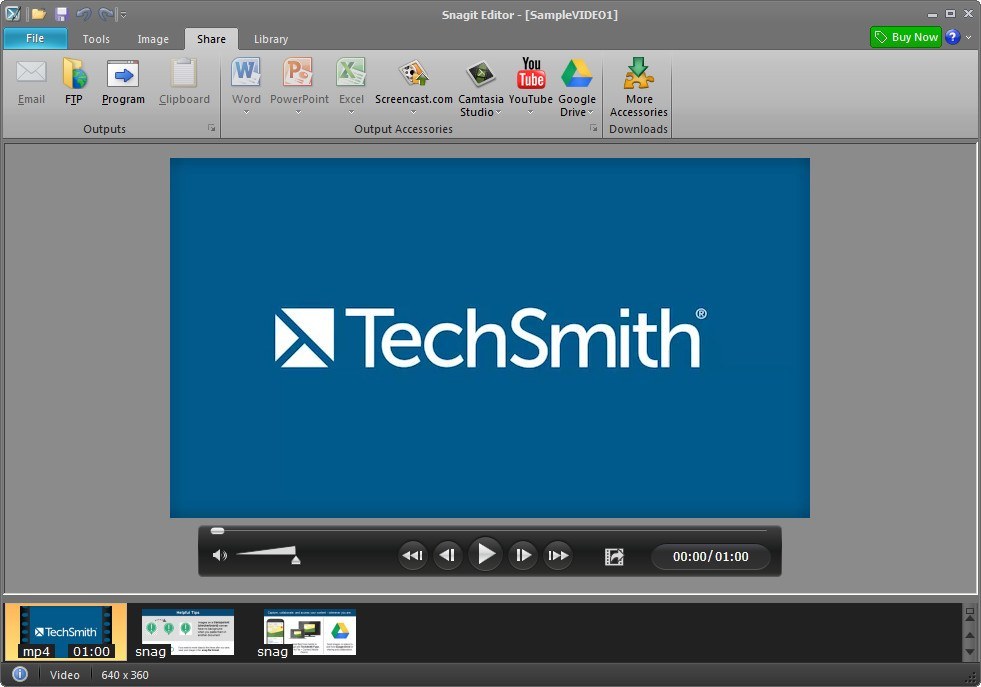
So here’s the capture side, which is based around the use of profiles. We can do static images and video, with an in-depth editing of the static side, but little options for video. So SnagIT is broke down into two parts, the capture side, and the editing of the captures. To show off some of the features, I am going to try to use SnagIT to capture itself. The end result is either the shots are used for my client project documentation, or here on in the blog posts.


I use it for capturing shots of the environment, as it is now, and after I’ve changed it, and then annotating them with arrows and text. It’s not free, but it has such a great interface, I can’t face using anything else. Everyone has their favourites, and mine is SnagIT.


 0 kommentar(er)
